Hardness Testers
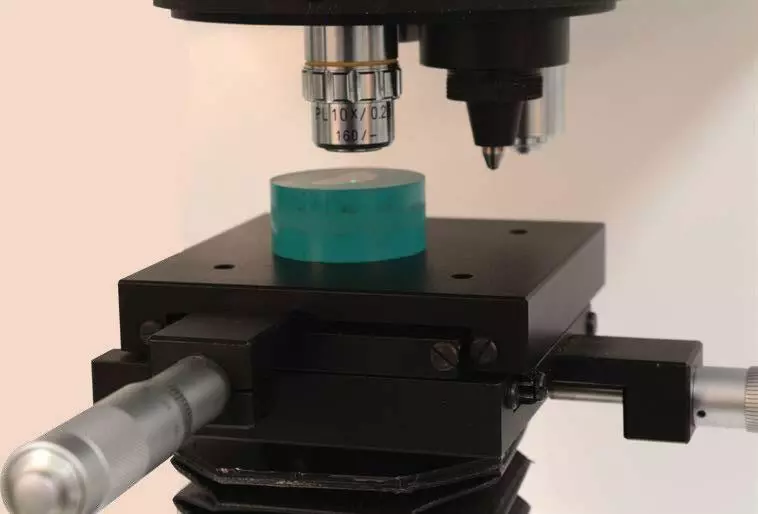
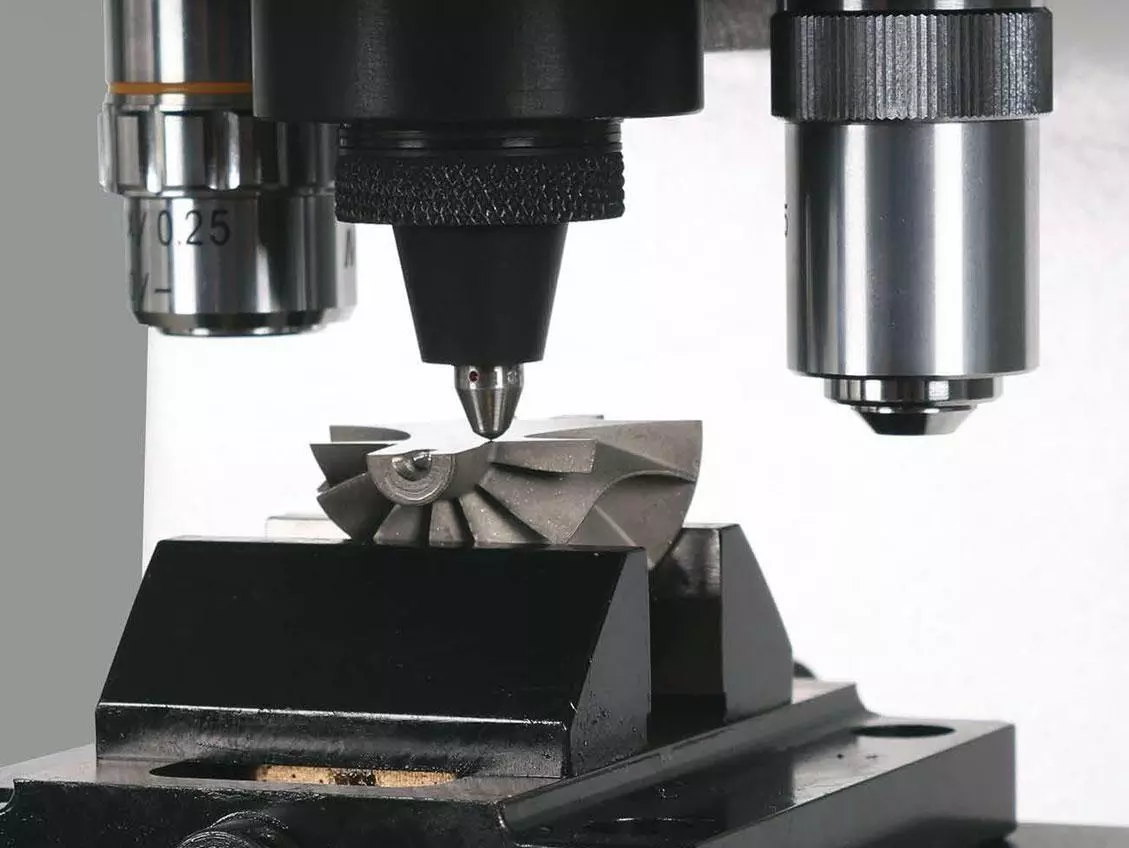
Machines to test Brinell, Rockwell, Vickers and Knoop methods with a range of loads.
Why Hardness Testing is important?
Hardness testing is an essential tool for analysis, distinguishing different materials, development and improvement of materials and technologies in the context of basic research in the fields of materials science, materials engineering and materials diagnostics. It determines the characteristic values that are of important for assessing the use of materials in industries (suitability of a material for a technically relevant part), for distinguishing between materials (in the case of material confusion) and for clarification of cases of damage (damage analysis).
How does a Hardness Tester work
Hardness is a measure of how mechanically resistant a material is to the mechanical penetration of another, harder body (indenter). Diamond is the hardest natural material so is used as an indenter. Methods with static application of the test force are predominantly used for testing the hardness of materials, whereby either the penetration size or depth of the indentation caused by an indenter is measured. A distinction is made with the static hardness testing methods between depth measurement methods and optical measurement methods. Depth measurement methods measure the residual depth of indentation left by the indenter.
Is Hardness Testing non destructive (NDT)
Dependant on the material and application being tested, hardness testing can be non-destructive. If you are doing a hardness test on raw materials like forgings or casting which will require further processing to remove indentation on material, it can be classed as Non-destructive testing (NDT) but if the same hardness testing is done on a critical turbine blade for aerospace NDT, this is considered destructive testing.

Hardness Testing vs Impact Testing
Impact testing measures the material’s capacity to absorb energy when ruptured at high velocity. This gives an indication of the strength of the material and two methods are usually used for impact testing, Charpy or Izod.
Hardness testing assesses the impact of the metal or alloy to permanent indentation, and the depth or size of the indent is measured to determine a hardness value.
Hardness Testing and its types. Which Hardness Test is best?
Rockwell
The residual depth of the indent made by the indenter is measured. The deeper a defined indenter penetrates at a defined test force into the surface of a specimen, the softer the tested material. The total test force is applied in two stages, this allows the impact of specimen surface roughness (grooves in the specimen) and measuring errors caused by backlash in indentation depth measurement to be eliminated.
Vickers
An optical method, the size of indentation (the diagonals) left by the indenter is measured. In contrast, the depth of indentation caused by the indenter is measured in the depth measurement methods (only Rockwell is standardised). The larger the indent left by the indenter at a defined test force in the surface of a specimen, the softer the tested material. The pyramid-shaped indenter (with interfacial angle of 136°) is pressed into a specimen with a defined test load from 1 gf.
Brinell
An optical method, involving a spherical indenter being pressed into a specimen, the size of indentation left by the indenter is measured. The larger the indent left in the surface of a workpiece (specimen) by the Brinell indenter with a defined ball diameter and a defined test force, the softer the tested material. In order to determine the HBW, the spherical, tungsten carbide indenter is pressed into a specimen with a defined test load (between 1 kgf and 3000 kgf). The results from the quotient of the applied test force (F in newtons (N)) and the surface area of the residual indent on the specimen after withdrawing the test force.
Knoop
An optical method, involving a pyramid-shaped rhombic indenter (longitudinal edge angle 172.5°, transverse edge angle 130°) is pressed into a specimen with a defined test load (between 1 gf and 2 kgf). The larger the indent left by the indenter at a defined test force in the surface of a specimen, the softer the tested material.


